

Troubleshooter
Problem with a Samsung Toner Cartridge
My print has a consistent dot running down the page
In the case of a Samsung printer, a consistent dot running down the same area of the page would almost certainly be caused by a small amount of glue or some other foreign material being present on the circular drum roller that is either part of the toner cartridge or part of a seperate drum unit. Before proceeding we need to establish which type of printer you own.
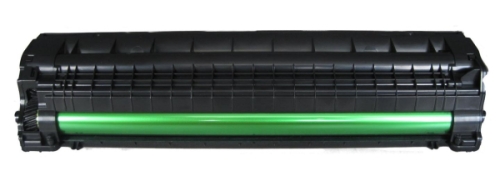
If your printer uses cartridges that have an integrated drum then the cartridge itself will have an integrated green/blue cylindrical roller such as the cartridge in the picture below; you may have to gently push back a protective covering flap to expose this roller. If your cartridge has a roller but it is covered in toner then this is a transfer roller, not a drum roller and it is likely that your printer has a seperate drum unit.
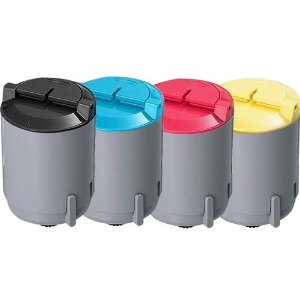
If your printer uses cartridges that rely on a seperate photoconductor within the printer then typically they will look more like simple tubes filled with toner such as in the picture below. These types of toner cartridges are most commonly used in colour Samsung laser printers however some monochome laser printers utilise a seperate photoconductor.
If your printer has the drum on the cartridge then please remove the cartridge and if necessary gently pull back the protective plastic shield to espose the cyclindrical drum unit. If your printer has a seperate drum unit then please simply remove the drum unit and keep the toner cartridge to one side.
The instructions will vary slightly from machine to machine but in order to resolve this problem we need to clean off the offending material which can be done in a way similar to the following method.
1.Position a print sample above the drum unit. This should allow you to locate the area of the drum which is causing the poor print.
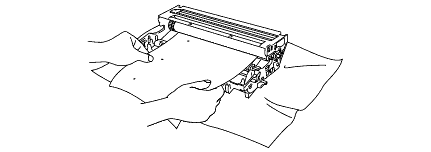
2. Turn the drum unit gear by hand while looking at the surface of the drum. Stop turning once you have found the offending mark.
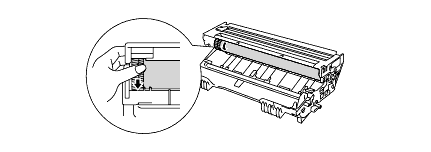
3. Wipe the surface of the drum with a cotton swab until the mark, dust, glue or paper deposit on the surface of the drum comes off. Reinstall the drum unit.
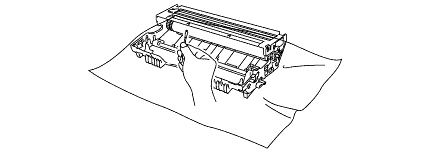
If the problem still persists please contact us to perform further troubleshooting.
^ Go back a level ^« Return to Helpdesk Home

